Creamy Tuscan Chicken

January heralds the start of all the ‘resolutions’ dreamed up during the long winter nights of the previous year. “Next year will be the year that I…..’ and we start with enthusiasm before the resolutions begin to lose their lustre and fizzle out completely by month’s end!

Well, this year I haven’t made a resolution as such, but I have decided that I must lose weight having been successful a few years ago on my 5:2 regime but noticed it creep up on me again.

And so, it starts with Dry January (mostly to knock a lot of calories on the head in addition to giving the system a rest), some exercise courtesy of my WaterRower but that is just part of the plan. The next bit is to reduce my calories and whilst I will go back on the 5:2 regime I started to think about meals during the non-5:2 days. Ideally, I wanted meals that were filling but not so heavy on the calories if that was at all possible – in fact, I wanted ideas.

To my delight I came across a newspaper article about a recipe book that seemed to fit the bill exactly. The book is Pinch of Nom Quick & Easy: 100 Delicious, Slimming Recipes by Kate Allinson and Kay Featherstone. The book is crammed full of what I call normal meal recipes and not the variety the extols the virtue of only eating salad with salt-free salt!

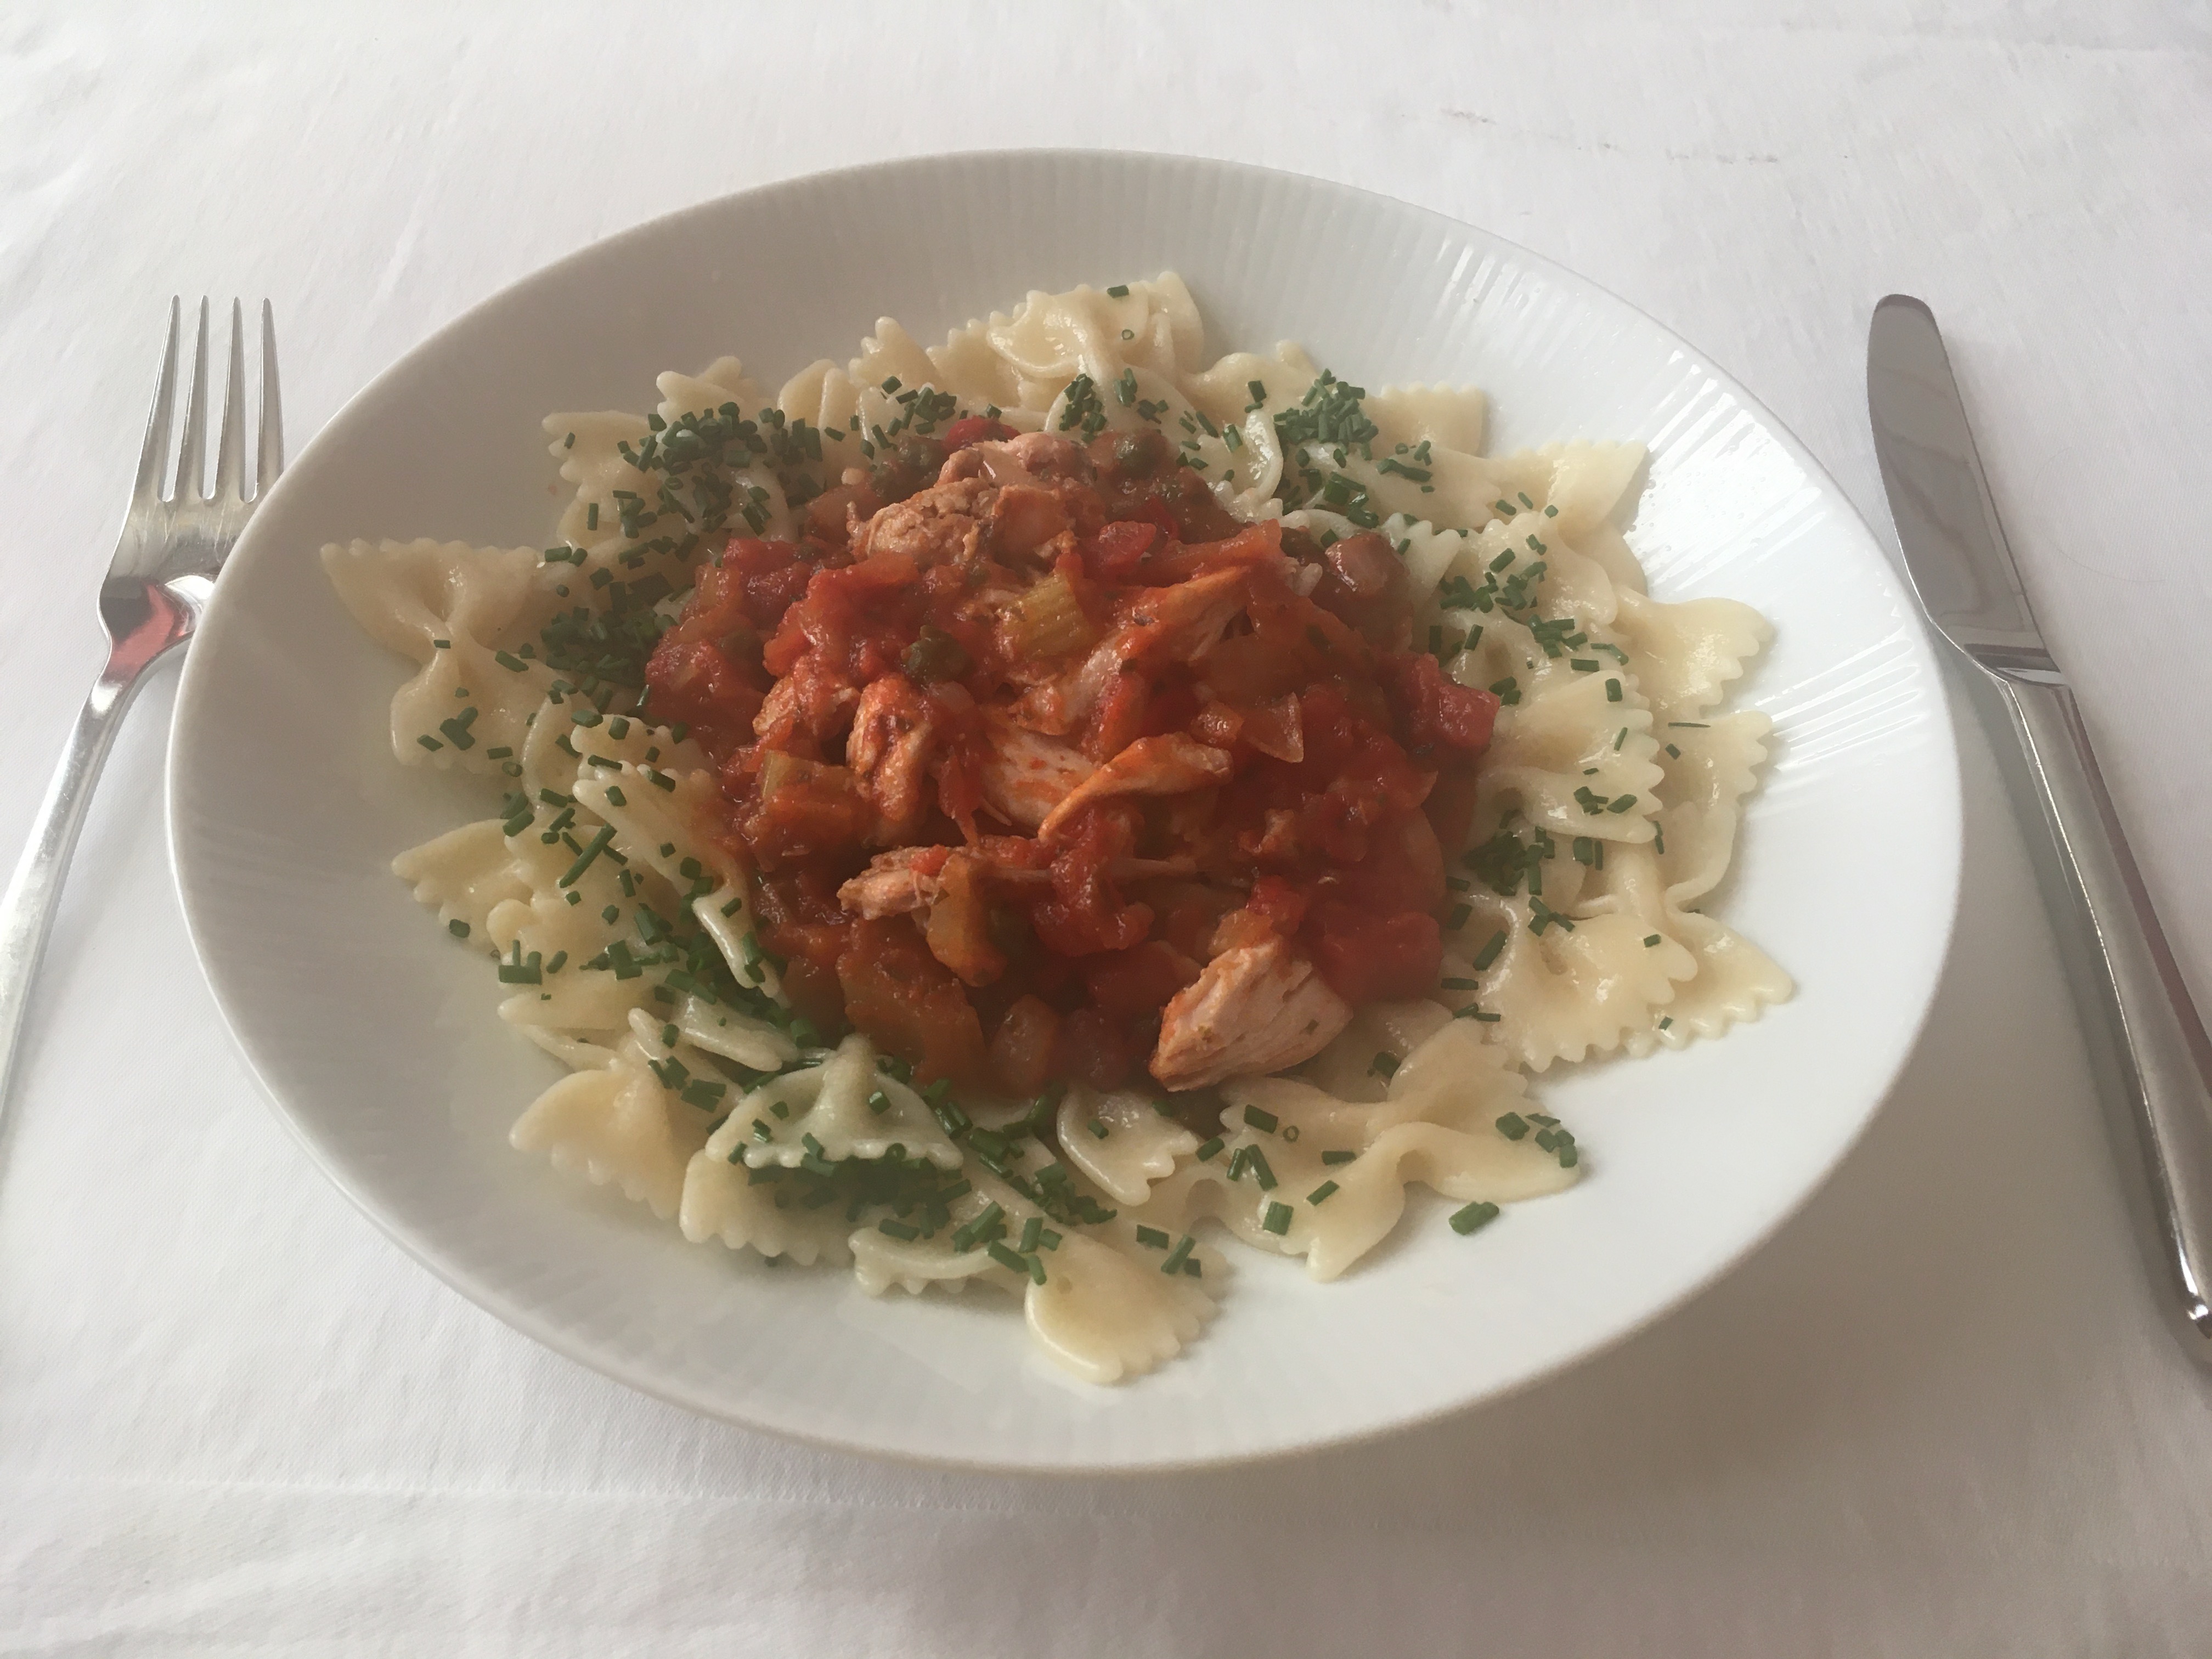
The other evening I made the creamy Tuscan chicken, and I was so impressed with it. It was full of flavour and very delicious and only 264 calories per portion!

I did make a couple of minor alterations to the recipe out of necessity rather than trying to be ‘clever’.  I had one chicken thigh that needed using up, so I used that along with one chicken breast. Having done so I must admit I thought the thigh much tastier of the two but by using thigh meat you may increase the calorie count by 5 calories or so per 100g if that is important to you.

The second alteration was to do with the tomatoes. I followed the instructions for cooking the tomatoes but stupidly did not reduce the temperature to take into account I was using the fan oven. As a result, the tomato skins were too charred to be useful however I had more cherry tomatoes in reserve.  I added the fresh batch directly to the pan, straight into the simmering stock – fortunately my mistake came to light 10 minutes into the 20 minutes for cooking the chicken so the tomatoes ended up being perfectly cooked in the sauce.    I would, however, recommend you strive to roast the tomatoes as per the recipe because I am sure they will lend a more sun-dried feel and taste to the overall dish.

What you will need for four people:

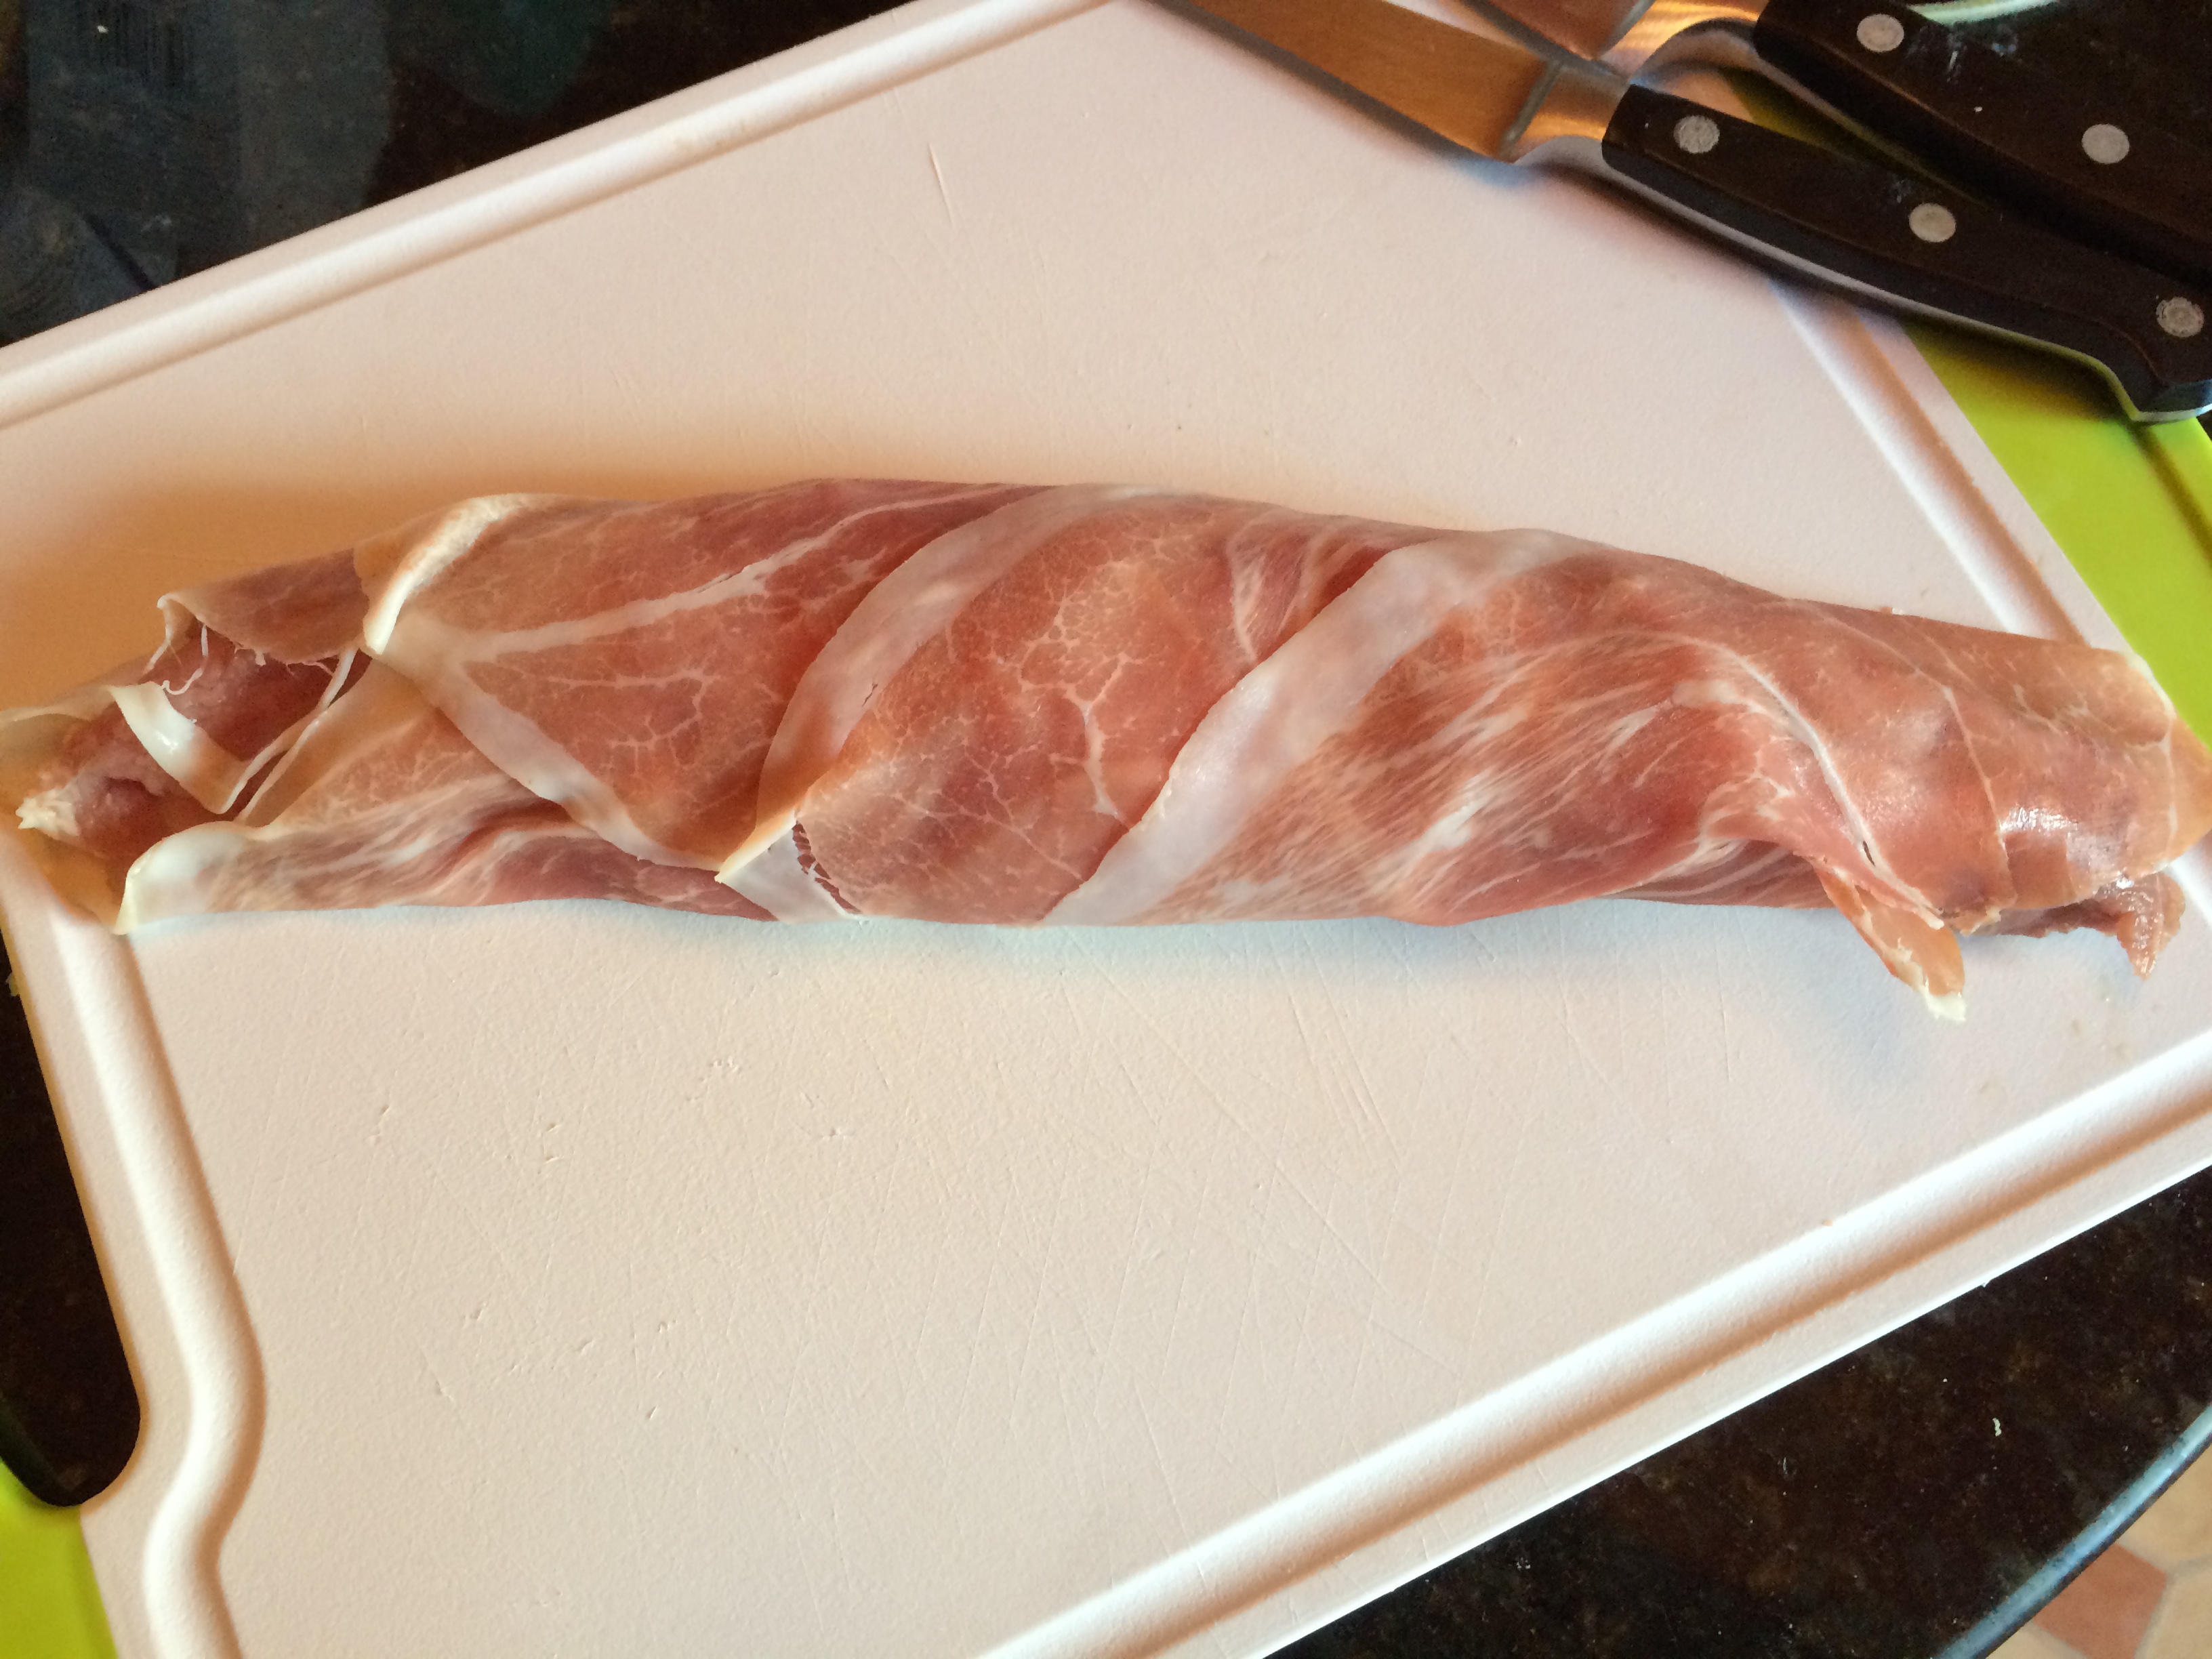
  • 4 chicken breasts or skinless thighs with any extra fat trimmed off.  Approx 130g in weight
  • 500g cherry tomatoes halved
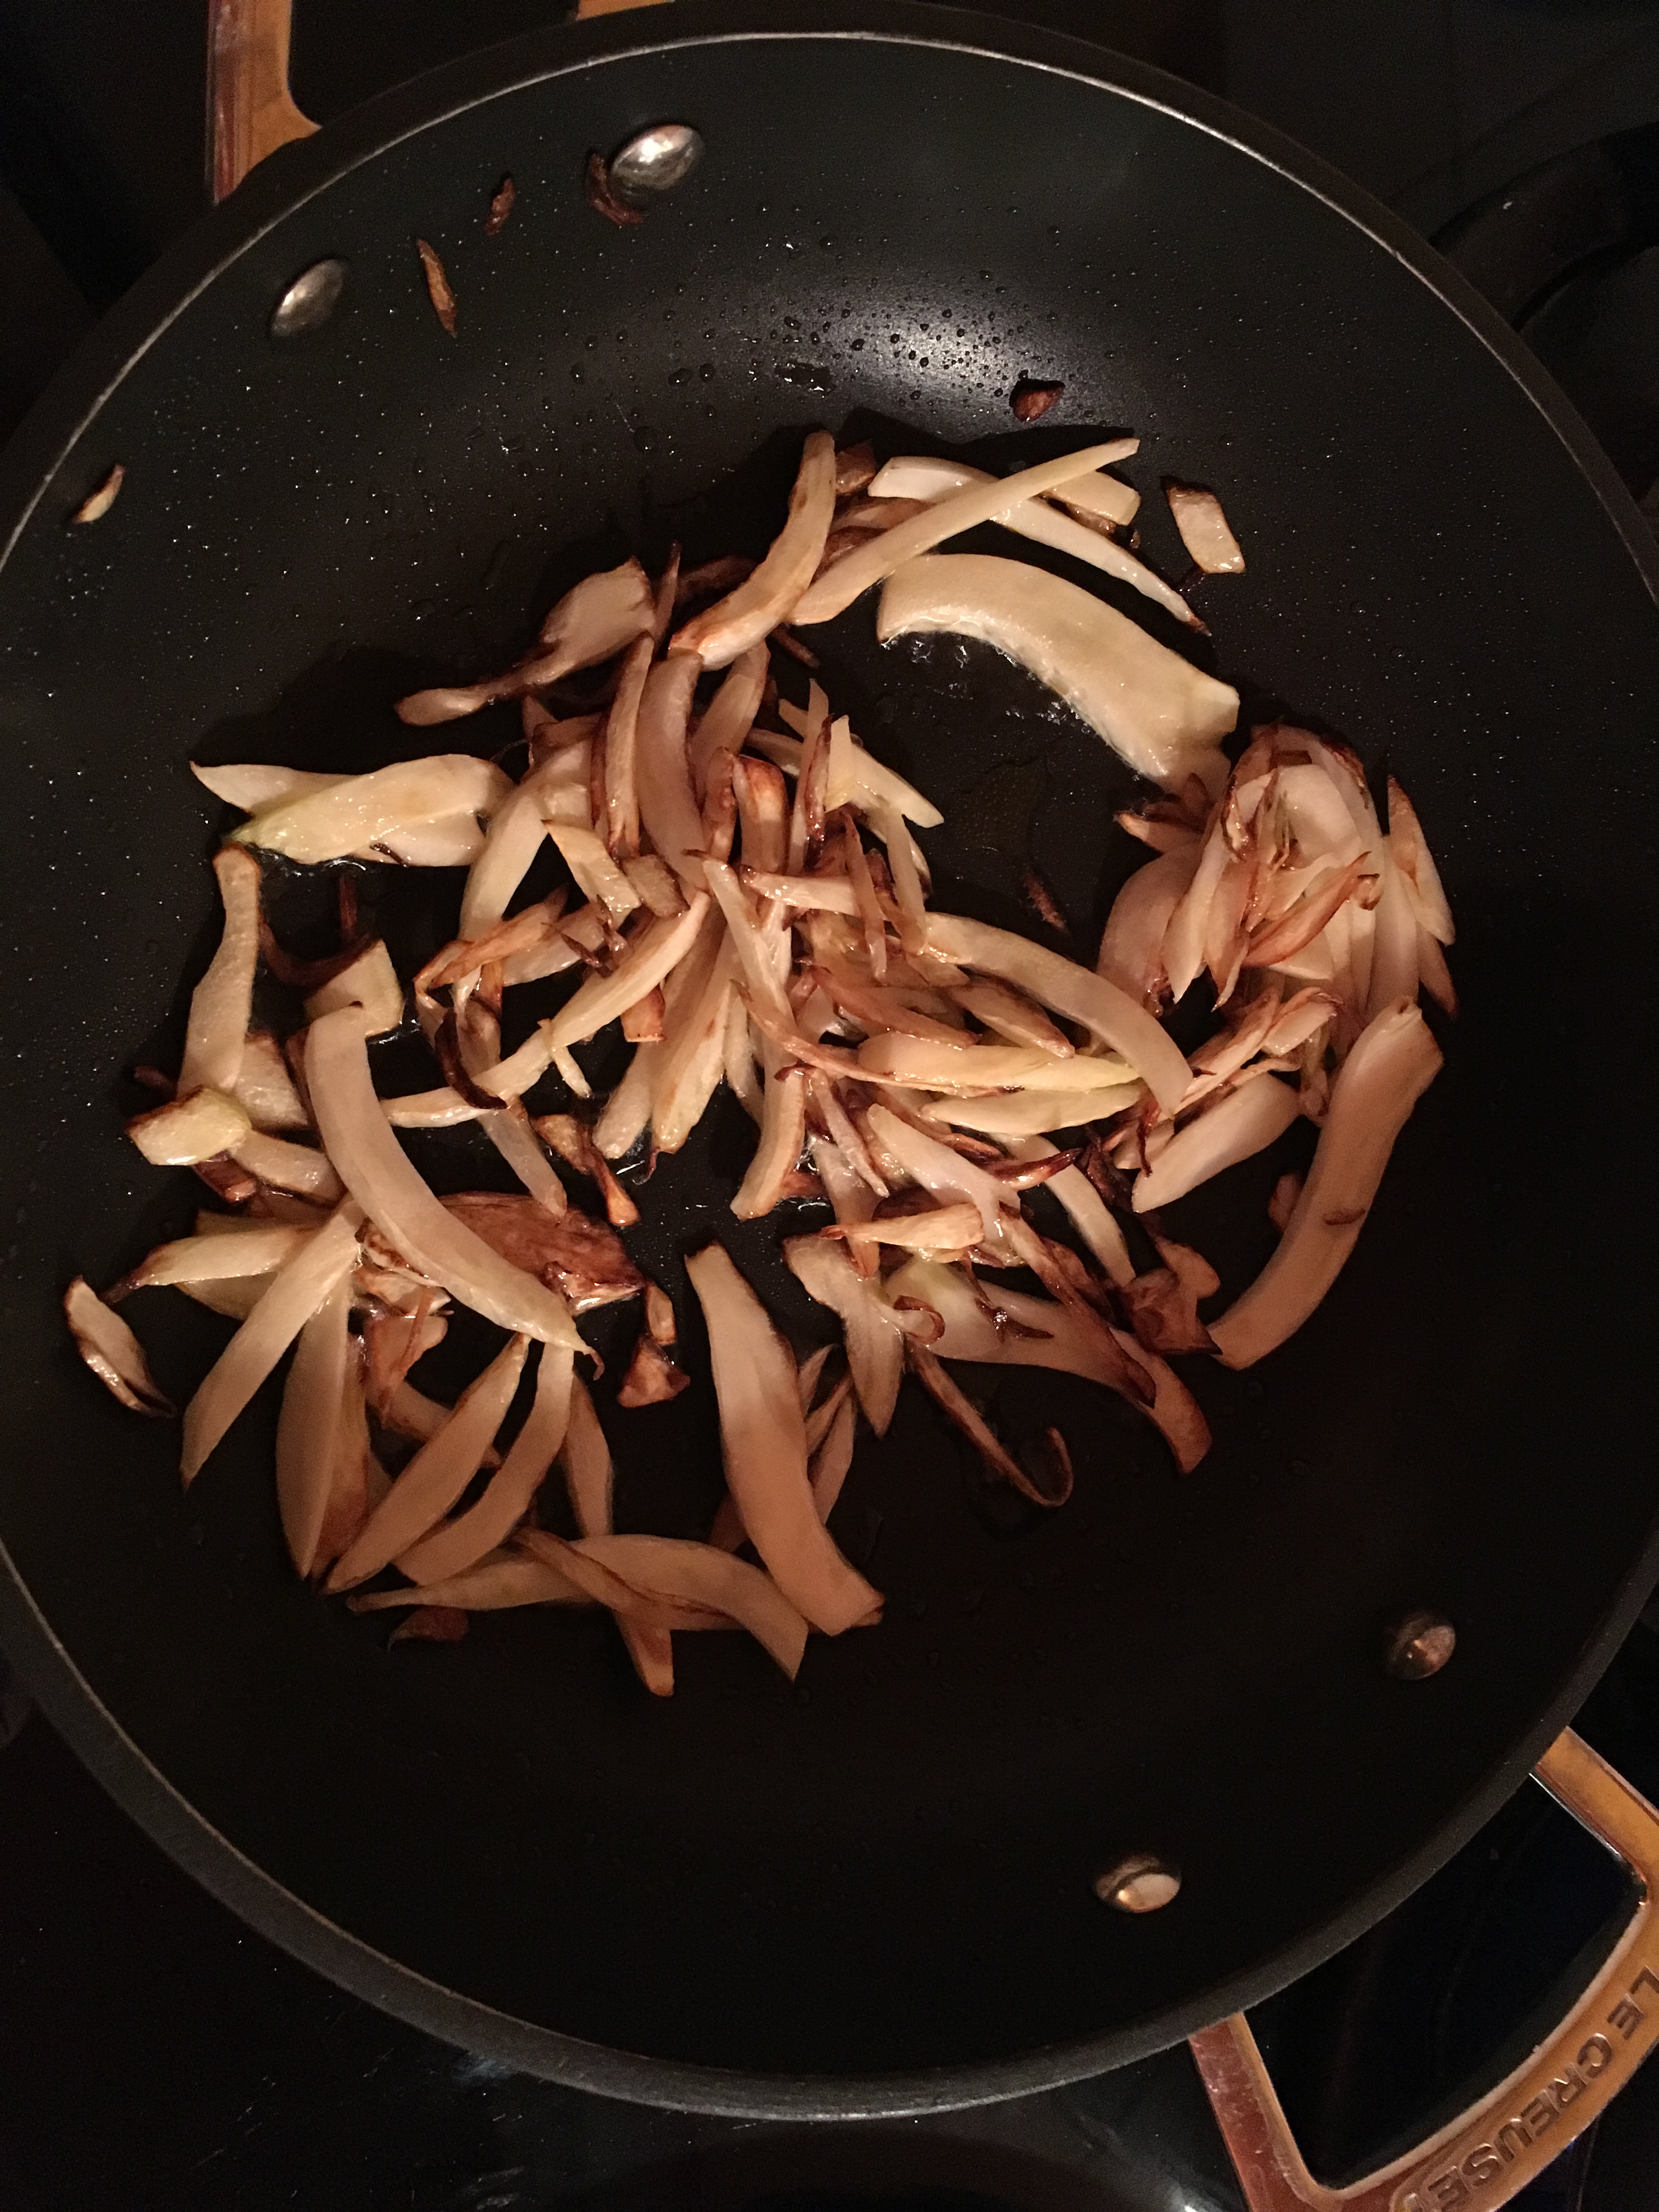
  • 2 Onions peeled and thinly sliced
  • 4 garlic cloves peeled and crushed/minced
  • 600ml chicken stock
  • 1 tsp dried basil
  • 1 tsp dried oregano
  • 180g reduced fat cream cheese*
  • 80g fresh spinach
  • Low-calorie cooking spray
  • Salt (sea preferably) and freshly ground black pepper

*I used Light Philadelphia which has 40% less fat

What you’ll need to do:

  • Heat the oven to 240c (220c fan-oven) or gas mark 9
  • Line a large baking tray with foil and spray with low-calorie cooking spray
  • Place tomatoes on the tray, cut side up in a single layer.  Spray with low-calorie spray, season with salt and pepper and place in the oven.  Roast for about 20 minutes until wrinkled a little – I recommend checking half-way through.  Once cooked remove from oven and set aside.
  • Whilst the tomatoes are roasting spray a large frying pan with the low-cal cooking spray and gently fry the onion and garlic over a medium heat for about 5 minutes until they have softened a little.
  • Add the chicken, the stock, basil and oregano to the pan and cook over a medium heat for 10 minutes then turn over the chicken, place a lid on the pan, and cook for a further 10 minutes until the chicken is cooked through thoroughly.
  • Remove the pan from the heat and stir in the cream cheese until melted and combined to make a creamy sauce.  If you think the sauce is a little too thick then increase the heat until it gets to the consistency you prefer.  If it is too thick, simply add a little water to thin it.
  • Stir the spinach into the sauce until it wilts a little and then stir in the roasted tomatoes.  Et voilà – ready to serve!

This dish may be accompanied by steamed green vegetables (38 kcal per 80 g) or pasta such as tagliatelle (174 kcal per 100g cooked).

Footnote:  I did notice that when the sauce cooled it separated a little but all you need do is to stir it again and it will emulsify once more – useful to know if you plan to freeze portions as I expect the sauce will separate once it has defrosted.


Pollo All’ Apulia (Chicken Apulia)

IMG_3906Well, I was rather shocked when I logged into my blog to see that it has been over two years since I last posted a recipe! And so, after some nagging, I mean, encouragement from my sisters and niece I thought it was high time to post once more.

This recipe is from Elodia Rigante’s Italian Immigrant Cooking published in America in 1995 originally by First View Books and then by Stewart, Tabori & Chang in 1996 which is when I got to know the book because at that time Stewart, Tabori & Chang was a client publisher of mine.  This recipe book has become something of a favourite of mine so too of my friend Heather.

I have taken a couple of liberties with this recipe one of which is that I omit the olives.  It’s not that I don’t like olives, but I much prefer to eat them stuffed with garlic, or anchovy, or pimento accompanied by an aperitif or plopped into a dry martini.  The second liberty, more of a short-cut really, is that I often don’t bother dipping the chicken pieces in the egg-wash.  I will, however, include the egg-wash in the method and you can decide for yourself. 

Elodia’s recipe calls for a 3-4lb chicken cut into eight pieces however I find it much easier to use pre-packed chicken thighs.  Depending on how plump the thighs are I find that one thigh per person is enough when accompanied with the sauce and pasta.  And on that note, I follow Elodia’s suggestion and serve my chicken Apulia with farfalle (bow-tie pasta).

What you’ll need for four people as a main course is:

  • 4 chicken thighs with skin and bone in
  • Olive oil
  • 2 eggs, beaten
  • Flour for dipping
  • 1 large onion chopped
  • 2 cloves garlic crushed
  • 3 large stalks of celery chopped
  • 1 tin of tomatoes (400gr/14oz)
  • 1 handful of fresh basil or 1 to 2 tsp of dried basil
  • 113gr (4oz/½ cup) sliced olives if desired
  • 1 – 2 tbs capers
  • ½ tsp sugar
  • 113 ml (4 fl. oz/ ½cup) white wine
  • Salt and pepper

What you’ll need to do:

  • Heat the oven to 180C/350F/Gas mark 4
  • Heat the olive oil in a casserole dish large enough to take the chicken pieces in one layer.
  • Coat each pieces of chicken in the beaten egg then coat with flour and fry until golden brown on both sides.  Remove chicken pieces to a warm plate.  NB Simply brown the pieces and do not over-cook because the chicken will be baked in the oven later
  • If you prefer to skip the stage above (egg or flour intolerance for example or to simply cut out a messy bit of the process) follow the instructions above for frying the chicken.
  • Add the onion and garlic in the remaining olive oil (add a bit more if you think you might need it) and sauté for a few minutes ensuring you do not brown the onions and garlic.
  • Add the celery and sauté for a further few minutes
  • Add the tomatoes, wine (rinse the tomato can with the wine to get the remnants of the juices from the tin) basil, olives (if using) capers and sugar.  Simmer for 10 minutes and check the seasoning adding salt and pepper if desired.
  • Place chicken pieces back into the casserole, pop the lid on and shove it into the oven for 45 minutes to an hour.  Check that the chicken is cooked through.

To serve put a portion of the farfalle onto your pasta plate (you could dress the pasta with melted butter and chopped chives for that extra élan) then a dollop of the sauces followed by the chicken.  I tend to remove the skin and take the meat off the bone before serving especially if I am serving this dish to guests.

For a vegetarian version simply leave the chicken out and simmer the veggie sauce on top of the cooker/stove.


Pasta with purple sprouting broccoli

2018-04-16 19.37.29

This dish is a variation of a recipe by Alastair Little found on the BBC’s Food website and came about for two reasons.  The first is that I really do need to eat more vegetables and the second is that I was given some purple sprouting broccoli by my friend Joy, who, in turn had been given it by her neighbour who grew it.  Joy decided to share her bounty (along with three sticks of rhubarb) with me.

The variation is the inclusion of red onion and cherry tomatoes which don’t appear in Mr Little’s recipe.

What you’ll need for two people as a main course is:

  • 1 red onion peeled and sliced
  • 8oz/225gr purple sprouting broccoli
  • 20 cherry tomatoes cut in halves
  • 2 cloves garlic peeled
  • 1 fresh chilli.
  • 1 small tin of anchovy fillets in olive oil, drained*
  • Good quality olive oil
  • 8oz/225gr pasta – choose between fusilli, penne rigate or, as I used in my recipe, tortiglioni
  • Grated parmesan or Grana Padano cheese
  • Salt and pepper

* If, like my niece Natalie, you don’t care for anchovies, or you wish to make the dish purely a veggie one omit the anchovies – the dish will be just as tasty.   If you do like anchovies but don’t want to use the whole tin use half instead.

What you’ll need to do:

  • Put on a large pan of salted water to boil.
  • Whilst the pasta water is coming to the boil prepare the broccoli by trimming the outer leaves and woody stalks.  Once done cut the brocoli into small pieces about 1cm/½.inch
  • Chop the garlic, chilli and anchovies finely.  I used my Cuisinart Mini Processor which does the job very well.  NB When it comes to prepping the chilli, if you like your dish fiery then chop the chilli whole including the seeds (hottest bit).  If you prefer a milder dish them slice the chilli in half and scrape away the seeds and discard then chop the chilli.
  • Once the pasta water has boiled add the pasta to the water, stir and cook according to taste or to the time suggested on the packet.
  • In the meantime take a large sauté pan or frying pan with high sides and place on the heat and slop in 3-4 tablespoons of olive oil.  Add the sliced red onion and cook over a low heat (you do not want the onions to brown or burn but be translucent) stirring from time to time.
  • Add the garlic/chilli/anchovy mix and stir coating the onions.   Then add the broccoli allowing it to cook a little then add the tomatoes and stir together.
  • At this point check the seasoning – the anchovies may be salty enough and all you need do is add a little ground pepper (black or white) if you wish.
  • Add a little (small ladle-full) of the pasta water to the brocoli/onion mix and let it bubble.
  • Once the pasta is cooked, drain and tip into the sauté pan and mix well.
  • If you wish, at this stage shower the contents of the sauté pan with the grated cheese (the amount of which is down to your taste) stirring so that it all gets well coated and you are ready to serve.


2018-04-16 19.19.40-2


Garlic chilli prawns with green beans

fullsizeoutput_e04

It may seem as though I am getting a lot of inspiration from Waitrose of late however it is a coincidence – really!.  That said, this recipe is one of the latest in its card series for February and I cooked it the other night and thought it ideal for a quick tasty Friday night dinner.  Or any night for that matter.

I have tweaked this recipe a bit too because I thought that the quantities given for the sauce in the original were a bit on the meagre side.  Whilst you don’t want your dish to be awash with sauce you do want to have enough to taste and enjoy.

The quantities I have given to make up the sauce (tomato paste, rice vinegar et al) can be fiddled with to suit your own taste and how much you think you may want but the trick is mix as you go along and adjust/add accordingly.

What you’ll need for two people as a main course is:

  •  180 g / 6 oz  raw prawns (frozen or fresh)  Add or subtract the quantity according to your appetite.
  • 1 tbsp tomato purèe
  • 1 tsp chilli flakes (If you don’t like your food too fiery reduce the amount of chilli – or increase if you prefer it hotter!)
  • 1 tbsp Chinese rice vinegar*
  • 1 tbsp honey
  • 1 tbsp sesame oil
  • 1 tbsp soy sauce
  • 1 and a 1/2 tbsp vegetable oil
  • 200 g / 7 oz  fine green beans trimmed and cut into halves or thirds
  • 2 Salad/spring onions aka scallions sliced on the diagonal
  • 1 or 2 cloves of garlic crushed
  • 2 tsp finely grated fresh root ginger
  • 2-3 tsp sesame seeds toasted

*I would recommend that you do try to get  Chinese rice vinegar if you can because it has a nutty flavour which another rice vinegars (such as Japanese) may not.

Tip: The cooking time for this recipe is short so prepare everything in advance so all you have to do is throw each ingredient into the wok in turn.

To accompany:  Steamed rice or fried rice will, of course, go well with this dish.  Also egg noodles would be good too – they can be stirred into the mixture at the end before serving.  In either case, make sure you have your rice or noodles cooked ahead of stir-frying the prawns and kept warm.

What you’ll need to do:

  • Heat a frying pan over a medium to high heat.  Once the frying pan is hot tip the sesame seeds into the (dry) frying pan and toast the seeds.  Keep an eye on them and stir them around.  When they turn golden (not nut-brown) remove the frying pan from the heat and set seeds aside to cool.
  • Then heat the wok over a high heat and add the vegetable oil.
  • When the oil is hot add the beans, spring onions, garlic and ginger and stir-fry for about 30 seconds.
  • Add the prawns and fry for a minute  until they start to turn pink.
  • Tip in the sauce mixture ensuring that everything  is coated nicely and fry for another 2 minutes until the prawns are cooked through.
  • Just before serving sprinkle the toasted sesame seeds over the prawns.

fullsizeoutput_e06
In the wok they go


Caramelised fennel, anchovy and chilli spaghetti/linguine

fullsizeoutput_dff

This is an adaptation of a Waitrose recipe which appeared in one of its periodic MyWaitrose members’ mailings.  The original recipe called for sardines but because I don’t care for sardines I decided to modify the recipe.  And in doing so I added some onion, a little stock and changed linguine for spaghetti – only because I didn’t have any linguine to hand when I made this dish the other evening.

Like a number of my recipes this one, too, may be tweaked further.  If you don’t care for anchovies you can swap them or simply leave them out particularly if you wish to make it a vegetarian dish.

To say the fennel is caramelised is a little bit of a misnomer insofar that no sugar is used but rather the fennel is cooked over a high heat to brown it a little and give a caramel colour to the vegetable.

What you’ll need for two people as a main course or four people for a first course:

  • 200g/7oz (or more depending on appetites) spaghetti or linguine
  • 1 tin anchovies
  • Olive oil
  • 1 fennel bulb finely sliced.  Reserve the fronds
  • Half an onion finely chopped
  • Half a mug of chicken or vegetable stock*
  • Hot chilli flakes
  • Juice of half a lemon

* I use (among other stock cubes and concentrated stock) Knorr’s Touch of Taste liquid stock in bottles.  I find this ideal if you wish to make just a small amount of stock rather than having to make up 500ml of the stuff when using a stock cube.

What you’ll need to do:

  • Put a large saucepan of water to boil for the pasta, salting the water.  Once the water comes to the boil, add your pasta and cook according to the packet instructions or to taste.
  • Whilst the pasta is cooking heat some olive oil in a large frying pan.  You may use the olive oil from the tinned anchovies if you wish – I did a half-and-half, a bit of the anchovy oil and olive oil.
  • Add the fennel and fry over a high heat for 4-6 minutes stirring often until the fennel turns a caramel colour and has softened.  Remove from the frying pan to a dish and keep warm.
  • Reduce the heat and add the chopped onion to the frying pan and fry the onions a little. (Add a little more olive/anchovy oil if you think the pan might need it).   Add the anchovies to the onions and fry gently breaking up the anchovies with a wooden spoon.  They will start to melt into the onion/oil mix.
  • Add the stock and bring to the boil.  A half-mug of stock isn’t too much but what you are aiming for is the stock to reduce to a nice glossy consistency.  Return the fennel to the frying pan and mix together.
  • Drain the cooked pasta and add to the fennel, onion and anchovy sauce (add a little pasta water if you wish), add the chilli flakes and lemon juice and mix all together allowing the sauce to bubble a little and coat the pasta.
  • Serve topped with the reserved fennel fronds.

IMG_1599
Frying the fennel until caramel coloured

Bigoli in Salsa

img_0772First I would like to wish you a happy New Year and apologise for the paucity of recipes since I started last May!

To my family and friends who have gently reminded me from time-to-time to get on with posting recipes, thank you for your gentle chiding – here we go!

I have wanted to try this recipe for a while since watching Rick Stein cook it in Venice during his From Venice to Istanbul television series for the BBC.  It has become one of Mr. Stein’s favourite dishes and having cooked it last night, I can see why.  It is incredibly easy to cook and absolutely delicious!

Bigoli is a type of pasta made in Venice.  It is rather like thick spaghetti and quite difficult to get hold of outside of Venice.  I happen to have some Pici Senesi which is a Tuscan pasta almost the same – a speciality of Siena where I bought it last year and which I used last night.  If you haven’t got any bigoli or pici senesi lurking in your larder Mr. Stein suggests using bucatini instead but I am quite confident that good old spaghetti will do the job just as well though the sauce does lend itself very well to a thicker type of pasta.

fullsizeoutput_cfd
Pici Senesi from Sienna

What you’ll need for two people as a main course or  four people as a first course is:

  • 200 – 250g (depending on how hungry you are) of either bigoli, pici senesi, bucatini or spaghetti
  • Salt for the pasta water.
  • 60ml olive oil
  • 1 large onion finely chopped
  • 1-2 cloves of garlic finely chopped
  • 8 anchovy fillets (tinned).  NB There are usually about 8 fillets in the small oblong tins you buy in the supermarkets.  Just in case, have a spare tin to hand.
  • 250ml chicken stock
  • Black pepper – around 10 twists of the mill.
  • Small bunch of flat-leaf parsley chopped.

What you’ll need to do:

  • Bring a large pan of salted water to boil for the pasta.
  • In a large frying pan heat the olive oil over a medium heat and then add the onion and garlic.  Cook slowly for 10-15 minutes until soft.
  • Add the anchovies giving them a good stir round the pan which will help break them up.  Interestingly anchovies very quickly start to break down once introduced to heat.
  • Add the chicken stock and let the sauce simmer until two-thirds of the liquid has evaporated.  What you want is a nice glossy coating sauce.
  • Taste and season with black pepper then set aside and keep warm whilst the pasta is cooking
  • Cook the pasta you have chosen until al dente or to your liking.  (If you are using bigoli or pici senesi for the first time you may be surprised by the length of time it takes to cook – about 23 or more minutes for the pici senesi for example)
  • Drain the pasta and add to the sauce.  Coat the pasta  with the sauce whilst stirring in three-quarters of the parsley.
  • Sprinkle the remaining parsley on top of each portion when serving.

I did not include salt in the list of ingredients other than for the pasta water because the saltiness of the anchovies and any salt in the chicken stock is sufficient for the dish.  If you think you may need more salt then add it at the black pepper stage but I don’t think that you will.

As you can see I drank the delicious Lugana (Zenato Villa Flora) from Lake Garda – available from Waitrose.


Roasted pork fillet/tenderloin wrapped in Parma ham

2016-05-23 20.22.17
The finished dish!

I spent last weekend as a guest of my friends Kate and Steve in Marlow.  We, along with a gang of friends, had been invited to spend Saturday celebrating our chum Mike’s birthday in Cookham at the Let’s Rock the Moor retro festival.

During breakfast yesterday Kate mentioned that her brother was coming to lunch and she didn’t know what to cook though Kate did think she would like to cook pork and asked for suggestions.  Diana (another chum) suggested roast pork with Parma ham which is  an easy dish to prepare though I am not at all sure Diana has ever prepared it herself!

So, for you Kate, here is the recipe.  I cooked the dish this evening having, by chance, a piece of pork fillet in the ‘fridge which needed attention!

What you’ll need for 4 people:

  • 2 pork fillets/tenderloin.  Fillets vary in size and thickness so choose the size to accommodate your guests’ appetites.  (The smallest fillets would probably be around 338gr/12oz which would serve 2 people.  Take into account shrinkage in cooking when choosing your fillets).
  • 8-10 slices of Parma ham (4-5 per fillet and dependent upon the size and thickness of the fillets you’ve chosen have a few extra slices handy in case they are needed*).
  • 2 cloves of garlic sliced thinly.
  • Sage.

What you’ll need to do:

  • Pre-heat your oven to 180C/356F.
  • Pat the pork fillets dry with kitchen paper and remove, carefully, any silvery tissue on the surface of the fillet.
  • With a small sharp knife make several incisions into the fillet (not too deep) and insert a slice of garlic into each pocket.2016-05-23 19.07.18
  • On a chopping board or flat surface carefully place slices of Parma ham to accommodate the fillet.  Overlap each slice of ham slightly to make it appear to be one long piece of ham so to speak.   Carefully wrap the fillet in the ham, at an angle so that the whole fillet is wrapped in its blanket of ham. Repeat for the second fillet.

    2016-05-23 19.10.39
    Pork fillet wrapped, at an angle, in the Parma ham.
  • Select 4 sage leaves and place on top of the fillet, slightly apart, and secure each leaf with a cocktail stick.2016-05-23 19.14.00
  • Select a roasting tin that will accommodate the fillets and line with cooking foil.  Place fillets on the foil and make a loose parcel.  Pop into the hot oven and cook for approximately 20 minutes.  After 20 minutes remove from the oven and open the foil and put the pork back into the oven for another 5 to 10 minutes.  After that check to see that the juices run clear and if they do your pork will be ready.
  • Once you are happy that the pork is cooked cover with the foil and let the fillets rest for 10-15 minutes in a warm place.

    2016-05-23 20.16.53
    The fillet, rested, and ready for slicing.
  • When ready to serve slice the fillets in even, thick slices.  I would suggest three slice per guest to start with. Oh yes, don’t forget to remove the cocktail sticks.

To accompany this dish you could serve potatoes roasted with garlic and rosemary (see next post).  Caramelised carrots would go nicely as well, so too steamed stem broccoli. As there will be very little by way of natural juices from the pork I would suggest you serve apple sauce along with it.

*If you find you have extra slices of Parma ham left over they can be pressed into service as a first course served with fresh figs which have been cut across the top with a criss-cross incision, squeezed open gently to form a pocket or bowl  into which you pour in a little liquid honey.  Scrummy.  Oh yes, you could also plop a dollop of crème fraîche alongside!  I’ll post the recipe as soon as figs come into season – maybe my lovely friend and neighbour, Joy, will have a bumper crop this summer – Kent figs are delish!


Spaghetti Carbonara

2016-05-15 19.48.15
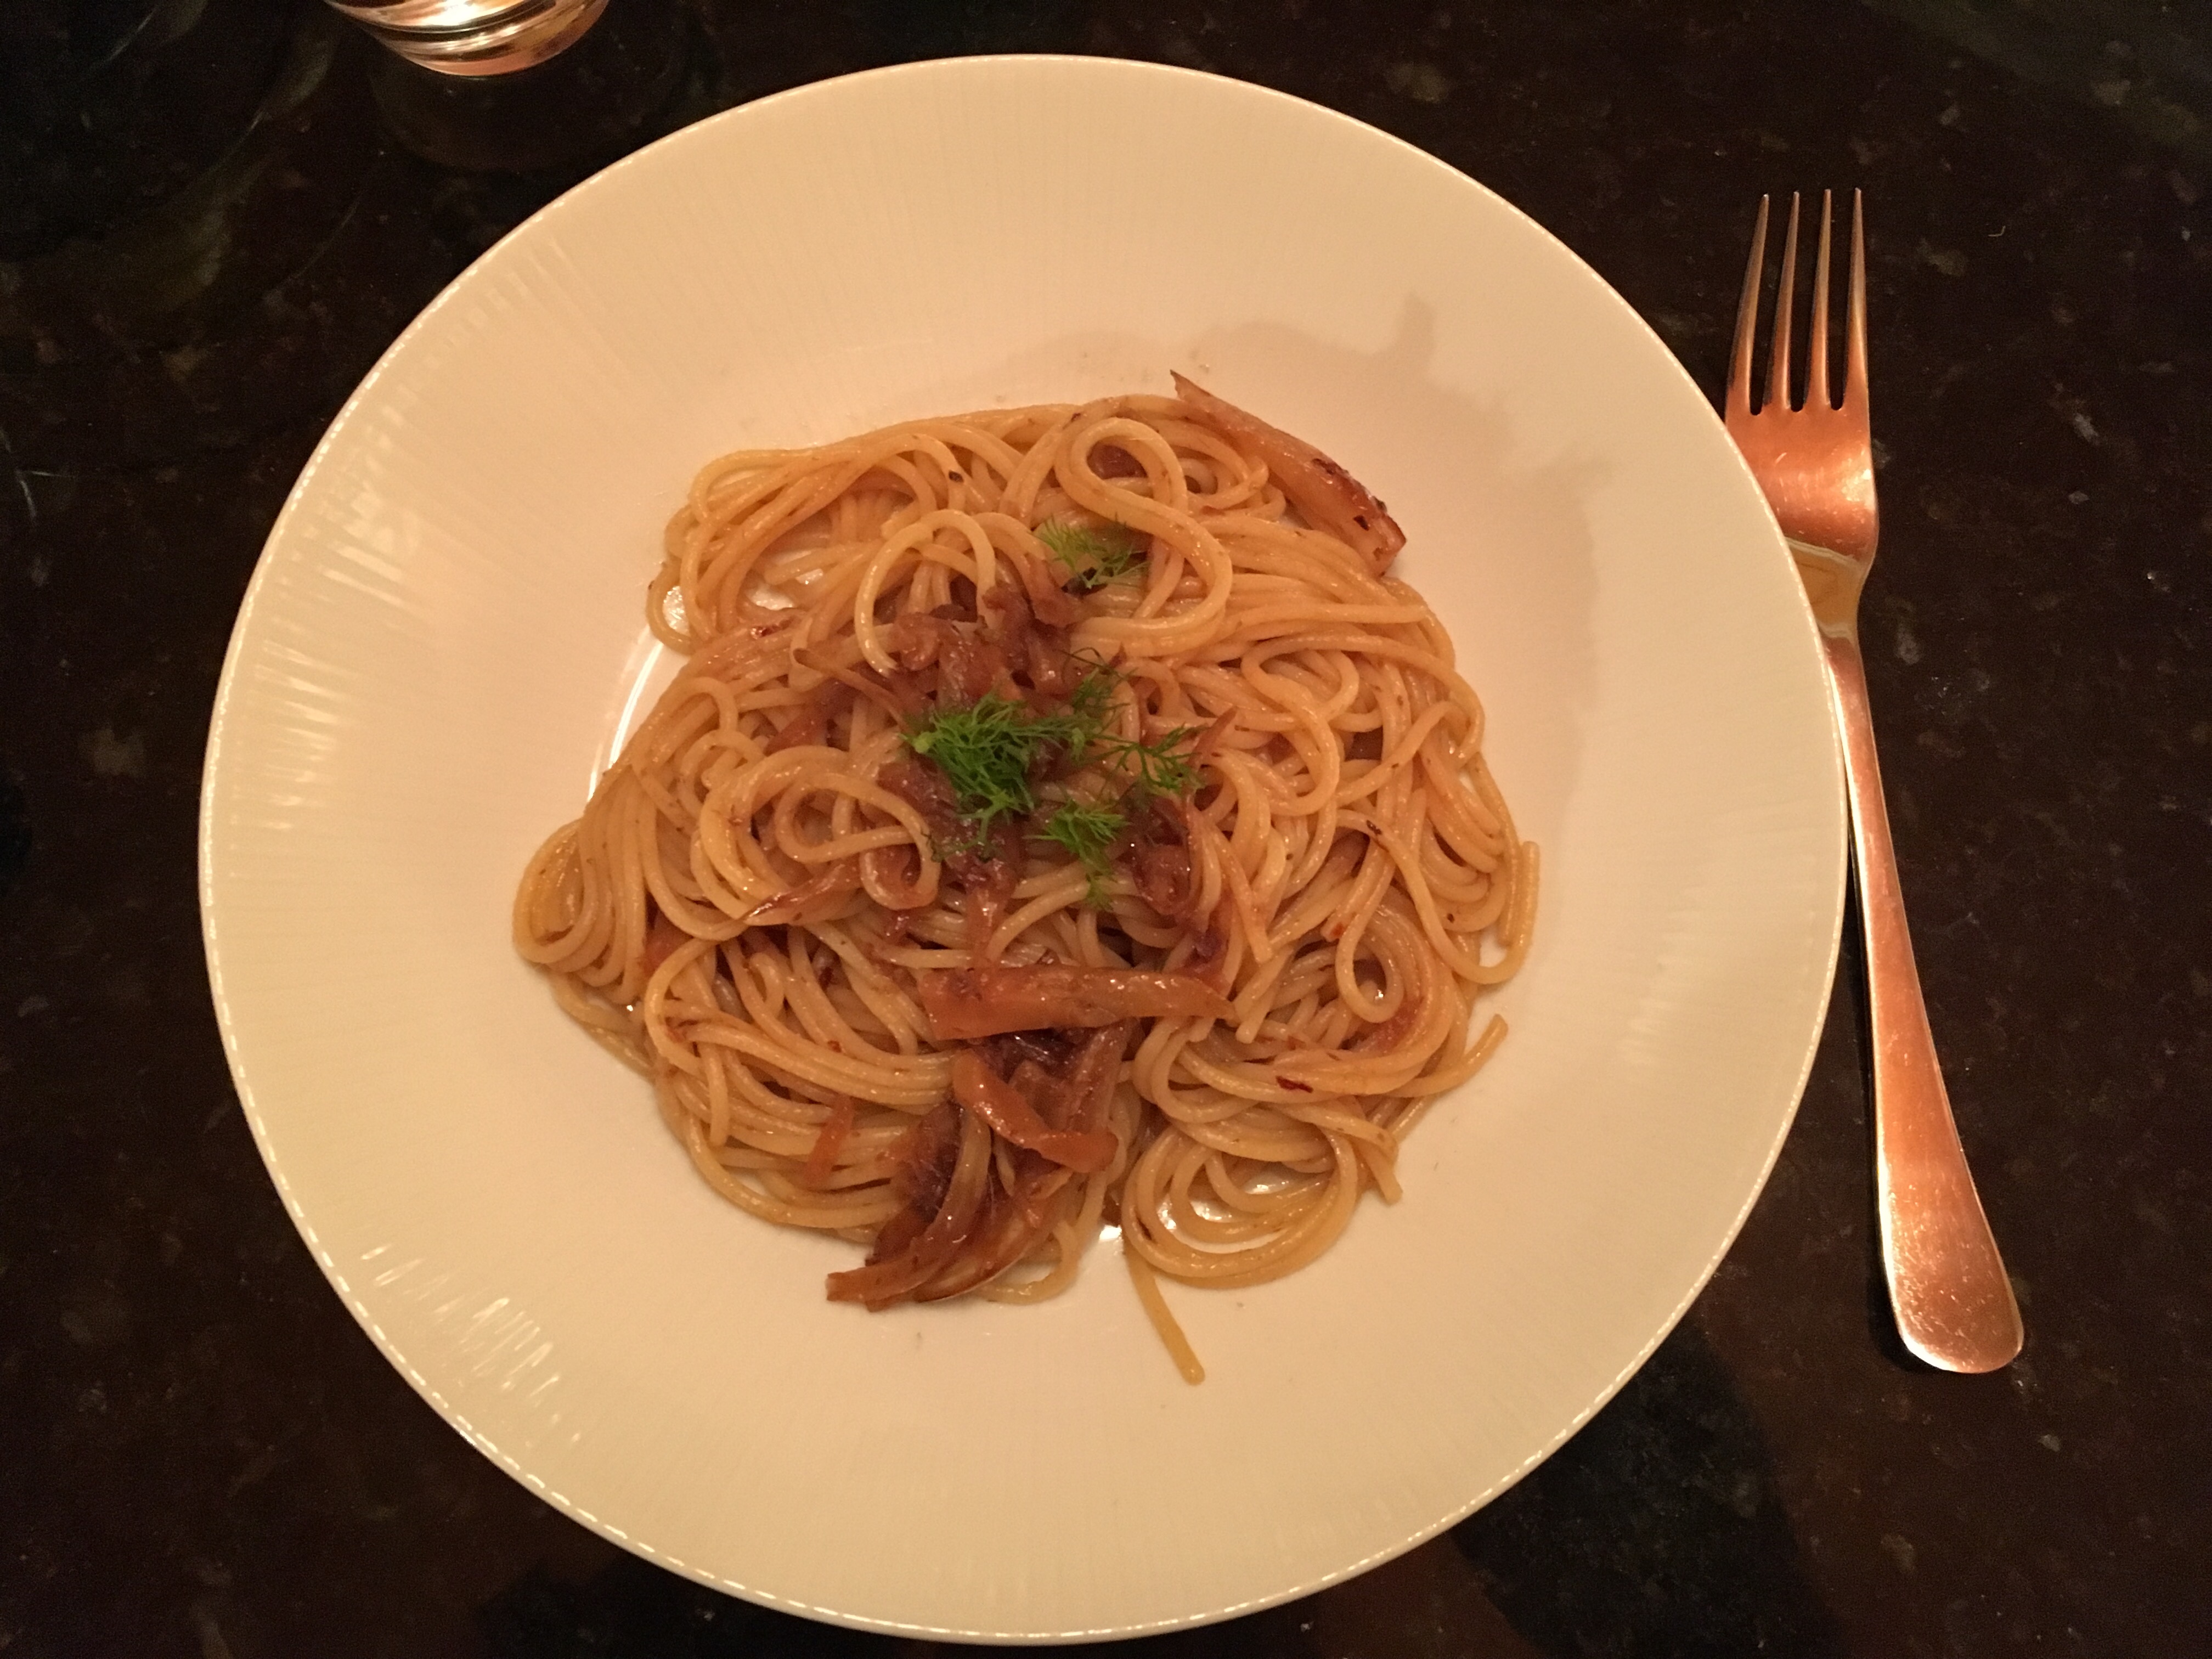
Keeping to the theme of easy recipes I thought I would launch my blog with one for Spaghetti Carbonara taught to me by my chum, Tommy, from Zürich.

This recipe is for the classic carbonara which is a light dish and bears no resemblance to what is often found on restaurant menus doused in litres of cream.

The origin of the name of the dish is obscure and debates continue as to whether it was, in fact, invented by charcoalmen (Carbonari) but it seems certain that the dish was created in Rome.  As to its arrival in this world  the recipe appeared in Elizabeth Davis’s Italian Food published in the UK in 1954 but it did not feature in Ada Boni’s classic La Cucina Romana of 1930.

The dish is simplicity itself and requires only the following:

Ingredients for 2 people:

  • 2 eggs
  • 4 rashers of bacon (smoked or unsmoked as preferred) sliced into strips or use cubed pancetta if you like.  If you like a bit more bacon,then add another slice per person – as you like it!
  • a little olive oil
  • a handful of flat-leaf parsley chopped as fine as you can get it
  • 30g/1 oz Parmesan cheese grated or Grana Padano (which is less expensive than Parmesan)
  • 170g/6 oz spaghetti (depending on how hungry you may be, add or subtract the amount of spaghetti)
  • black pepper

Method:

  • Put a large saucepan of salted water on the stove and bring to a boil. (It is important that there is plenty of water to cook your spaghetti).
  • Whilst the pasta water is coming to a boil, in a mixing bowl break the eggs and whisk with a fork.  Mix in the grated cheese, the parsley and a few twists of pepper to taste.  NB I would not recommend that you add salt because the cheese will be seasoning enough.
  • Put a little olive oil into a frying pan and fry the bacon strips until a little crispy.  If you are using pancetta just pop that into the frying pan, without the oil, because it will have plenty of its own fat in which to fry.  Once cooked to your liking, set aside and keep warm.
  • Once the water has come to a boil add the spaghetti and give it a good stir round and allow to cook according to the instructions on the packet/taste.
  • When the spaghetti is cooked drain in a colander and then return it to the saucepan making sure the heat is turned off beneath the saucepan.    Pop the bacon/pancetta into the saucepan followed by the egg mixture.  Stir thoroughly ensuring the spaghetti is coated.  The trick is to have the egg mixture emulsify and hot through but not let it get over-cooked that it turns a little into scrambled eggs!
  • Divide into two bowls and throughly enjoy along with a glass or two of wine.

Ps This can easily be made for one person simply by using one egg and dividing the ingredients accordingly.